This fall, I took Introduction to Woodworking: Build a Box from the CCAE with Carl Spagnoli. The class meets eight Tuesdays from 6-9 pm at the CCAE building at 52 Brattle St. In Cambridge in the wood shop. Carl was an excellent teacher, my six classmates were interesting and fun, and I learned a lot. This post captures some of what I learned.
Suggestions
- I used African mahogany for my boss, which presented some challenges. The plank measured 8 eight feet long, making it hard to cart. Mahogony gets “furry” and needs extra sanding, the large grain requires grain filler (three coats), and the final project needs sealing. The finished product looks good, but pine or cedar does too.
- I decided to make a long wooden box to hold tapes my wife Jane Ann uses for bullet journaling. My final box measured 25 3/6″ x 4″ x 4″. The long lid piece warped a l; little, leaving a gap you can see here. You might think of doing something with a smaller aspect ratio.
- You will make mistakes when you make your box, correct your errors and keep going. Don’t go back and start yourself — you will never finish. My box has about seven apparent mistakes by reckoning, but I mostly managed to hide them. You will not complete the eight sessions if you go back too much to correct things.
- The in-class sessions will get you an assembled box. You will most likely have to do the finishing — sanding, staining, sealing, and hardware — at home or during the makeup session, which Carl kindly runs. I spent about ten hours finishing spread over about four weeks — grain filler, stained, sealers need 2-3 coats each and will have to dry between each coat, so I spent about a half hour each day over the several weeks. I had the time, and it proved worth it, but I suggest thinking about what you want to do to finish and getting advice from Carl that fits the time you can put in.
- While building, do an l; of measuring, checking, and keeping notes. You will make your plans on paper in 2 dimensions, but the box has three dimensions, and lots of measuring will help you think in 3D.
- In class, you will spend time waiting to use the various power tools. I always had a side project to work on while waiting. I wanted to see if I could make a Soma puzzle using a hand saw and many clamps. I learned I probably could, but it would take much more time than I wanted to spend.
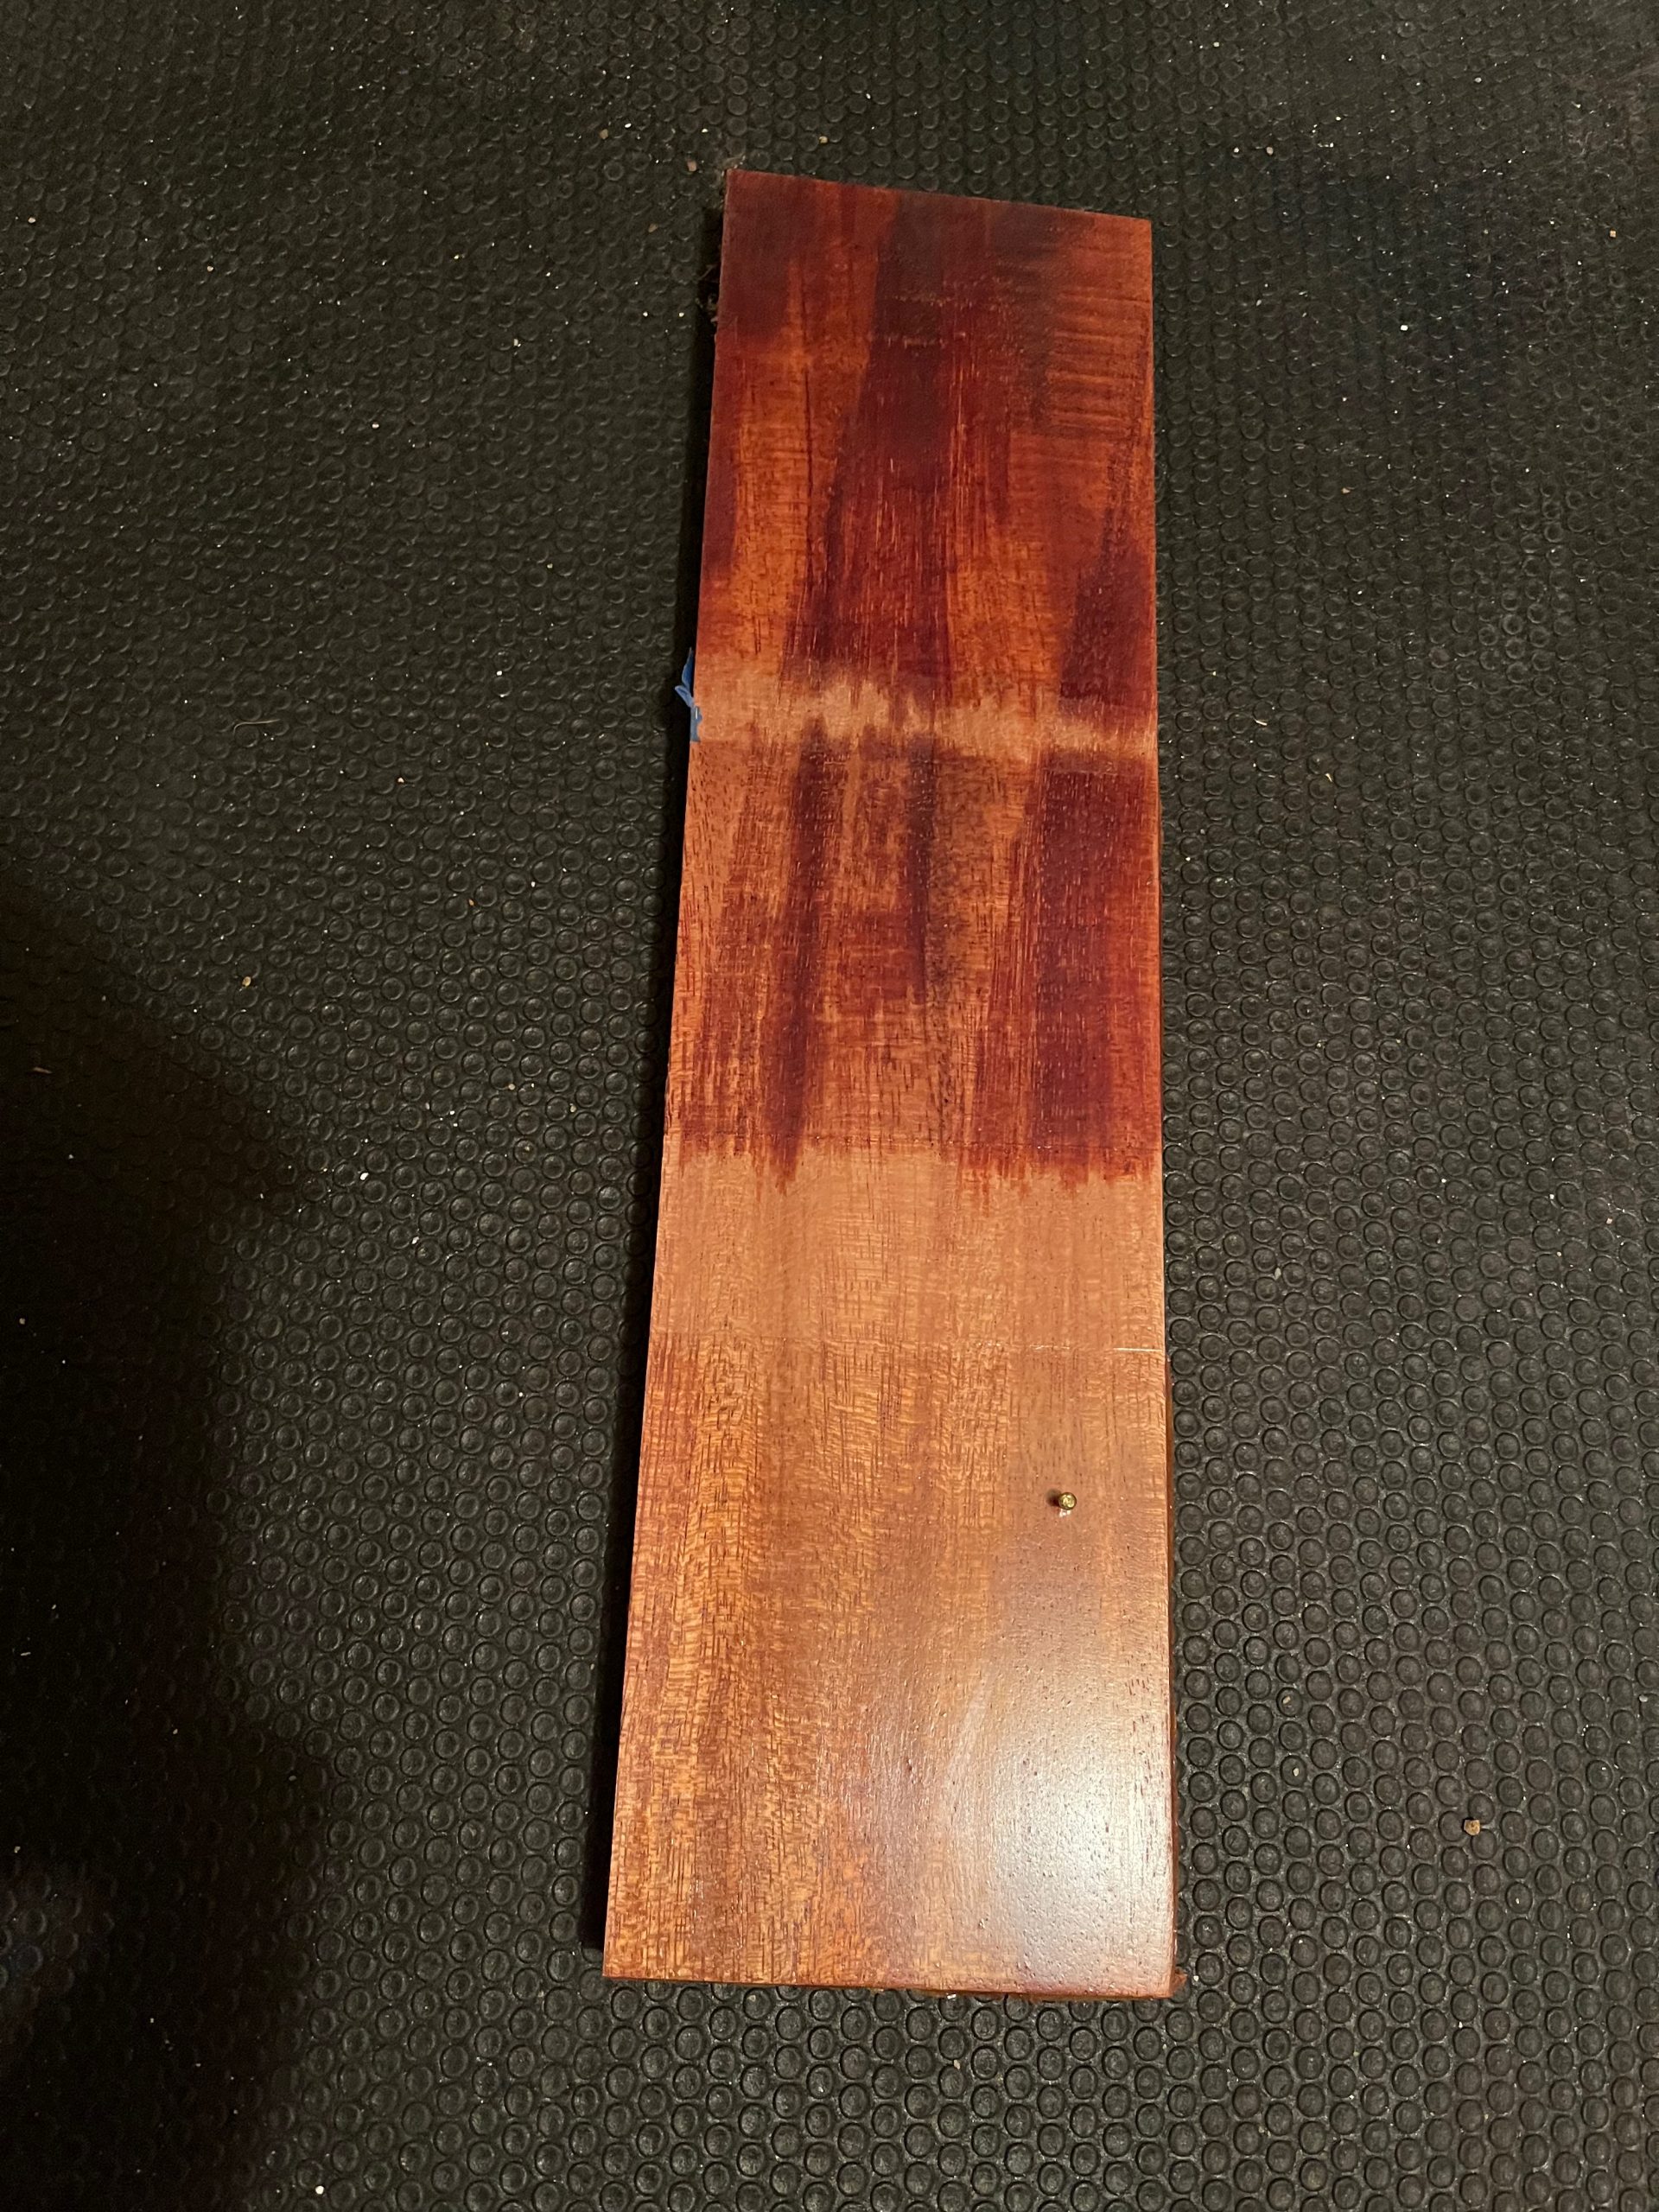
- You should do lots of test cuts on scrap — not just on the tower tools but for everything—an experiment in particular with clamping. Talk to Carl. I tried several tests to finish the following:
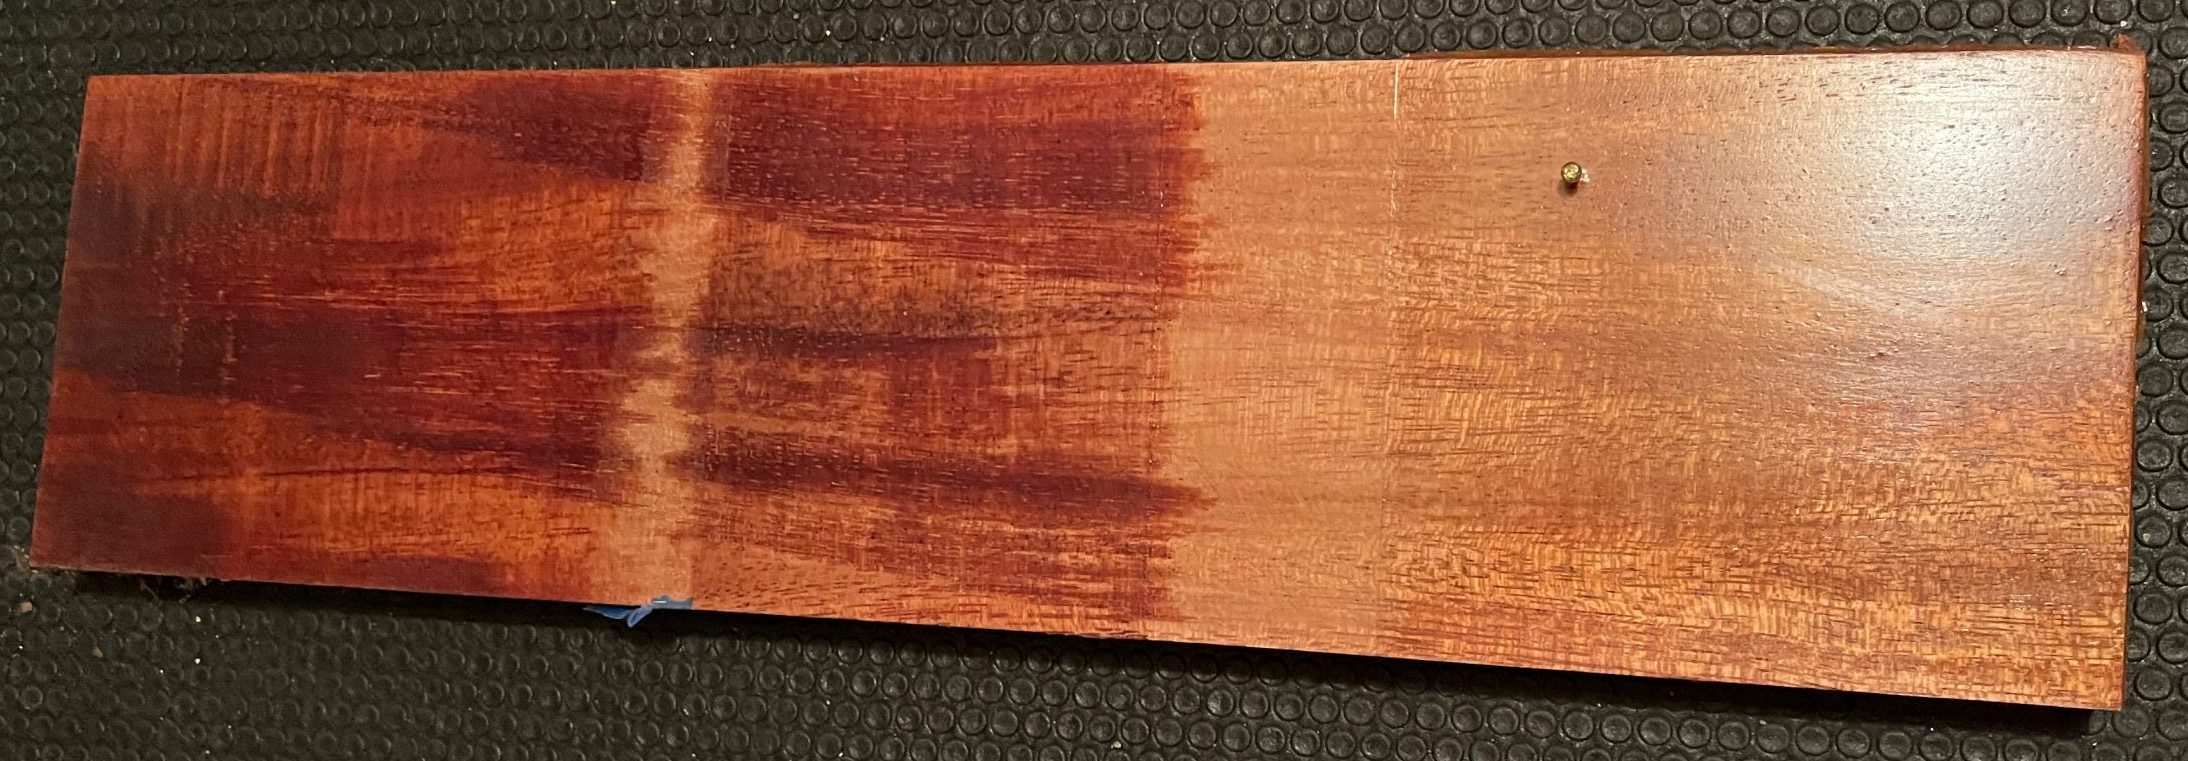
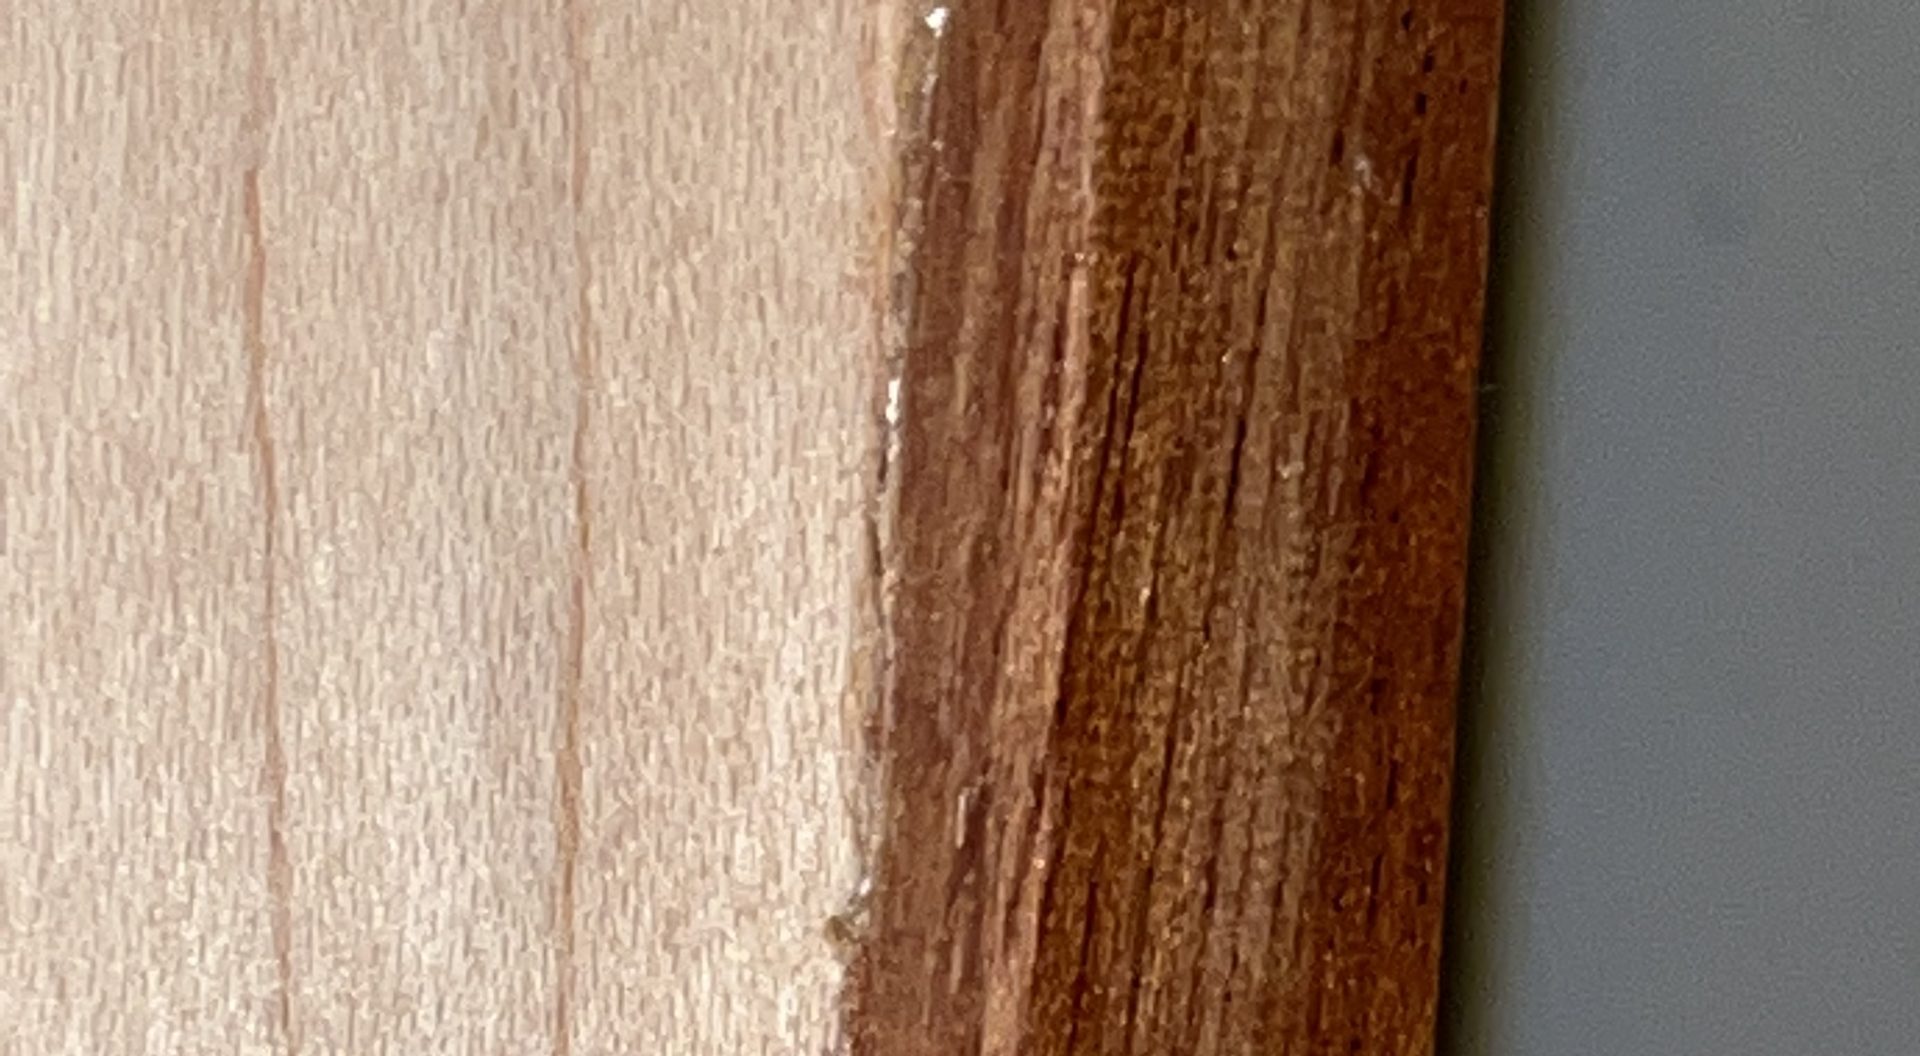
Test mahogany piece. The left patch uses just olive oil, the center has three coats of grain filler, followed by olive oil, and the right has three coats of grain filler, followed by three coats of sealer.
- Look at what your classmates make.
The Final Product
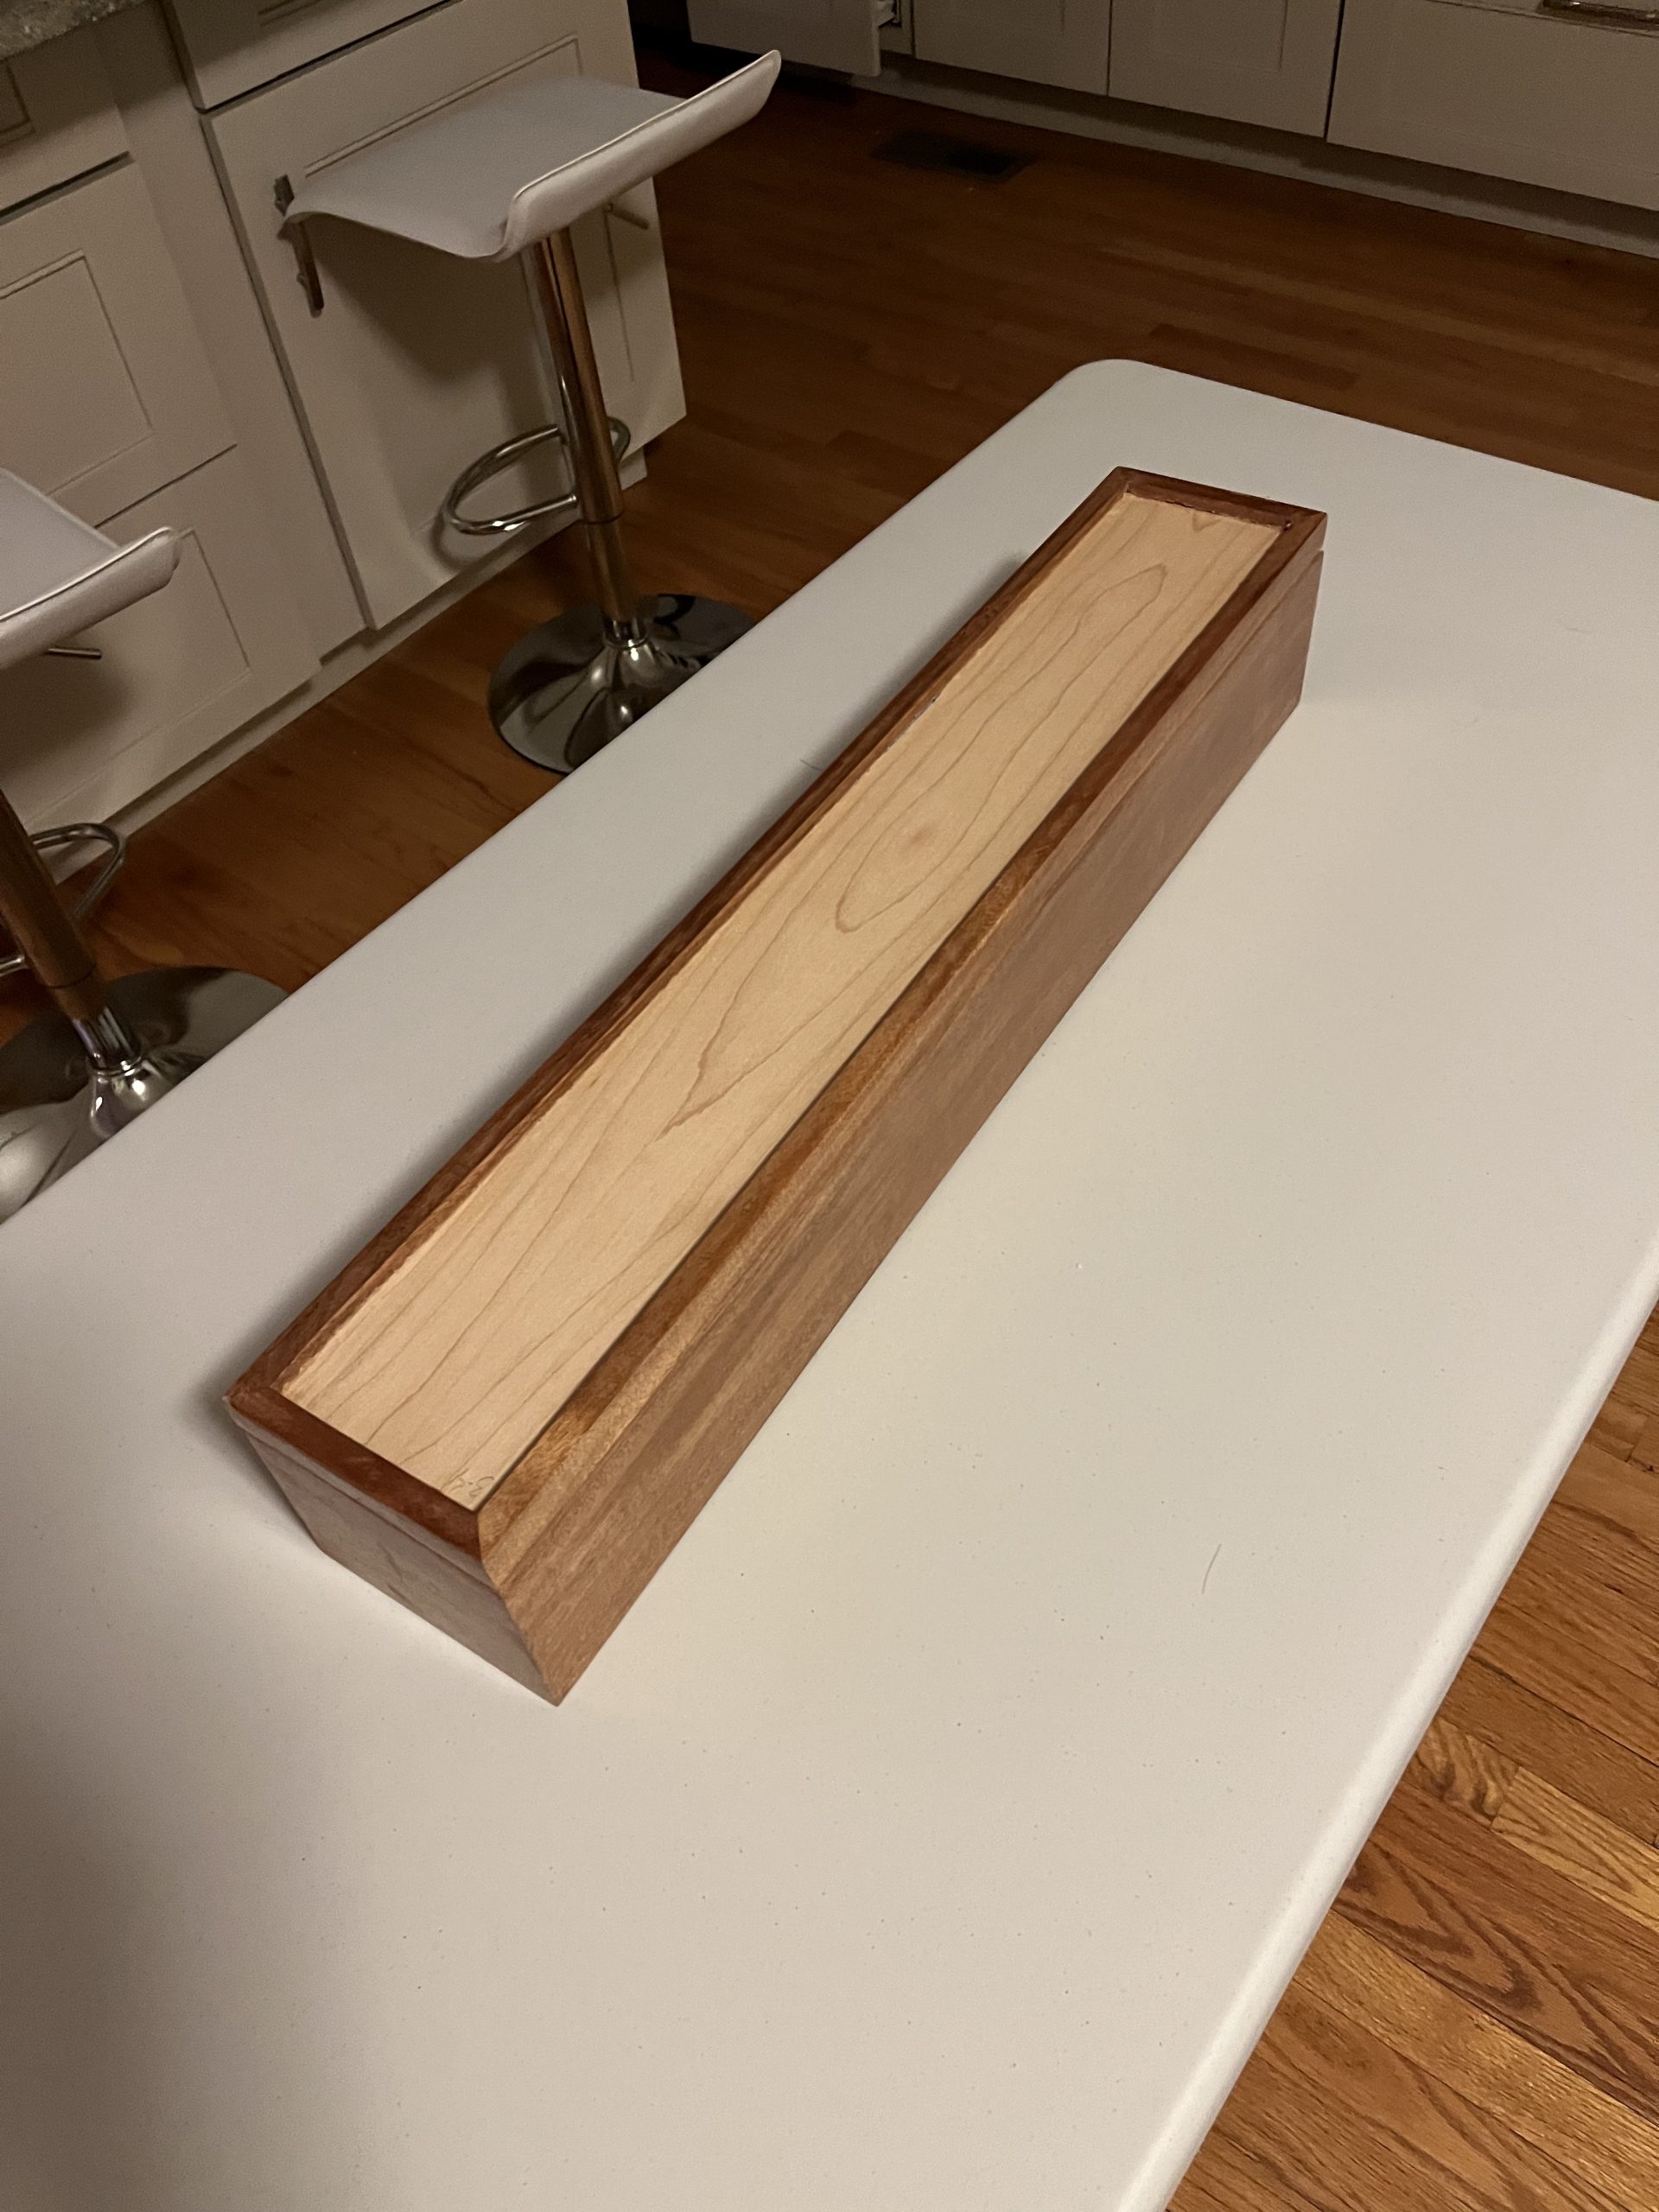
Mahonogy tape box mearuing 25 3/16″ x 4″ x 4″
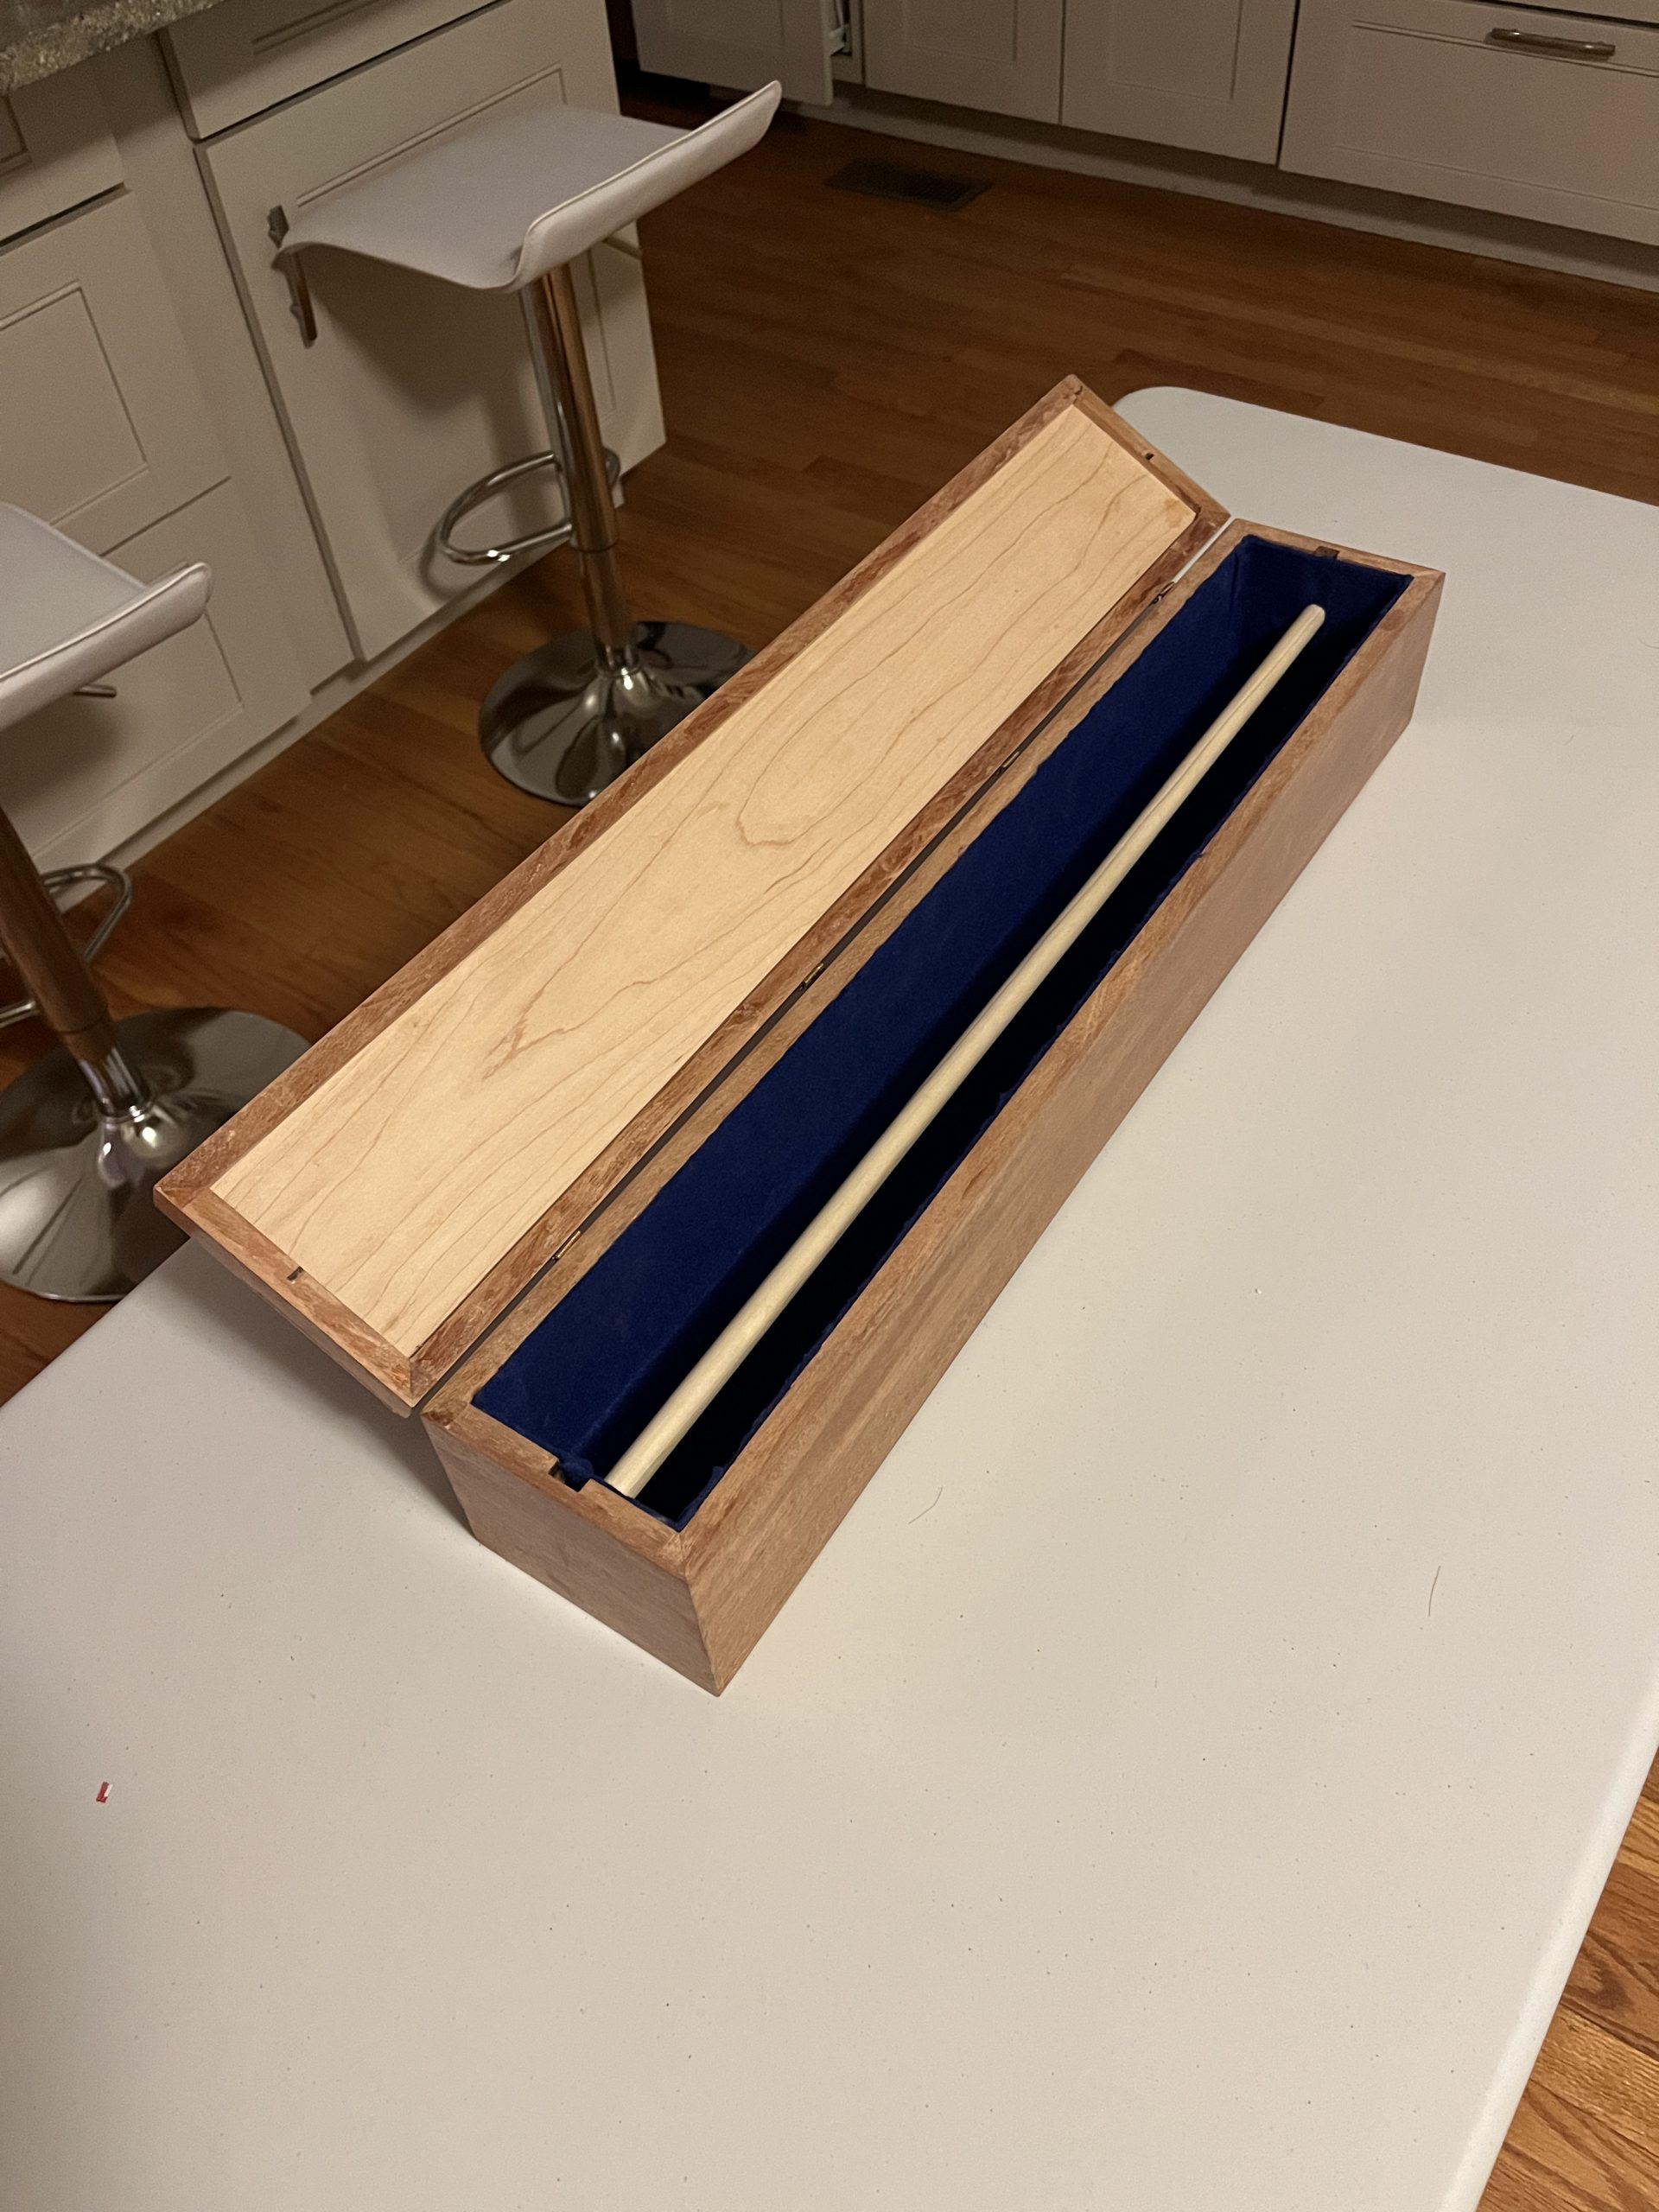
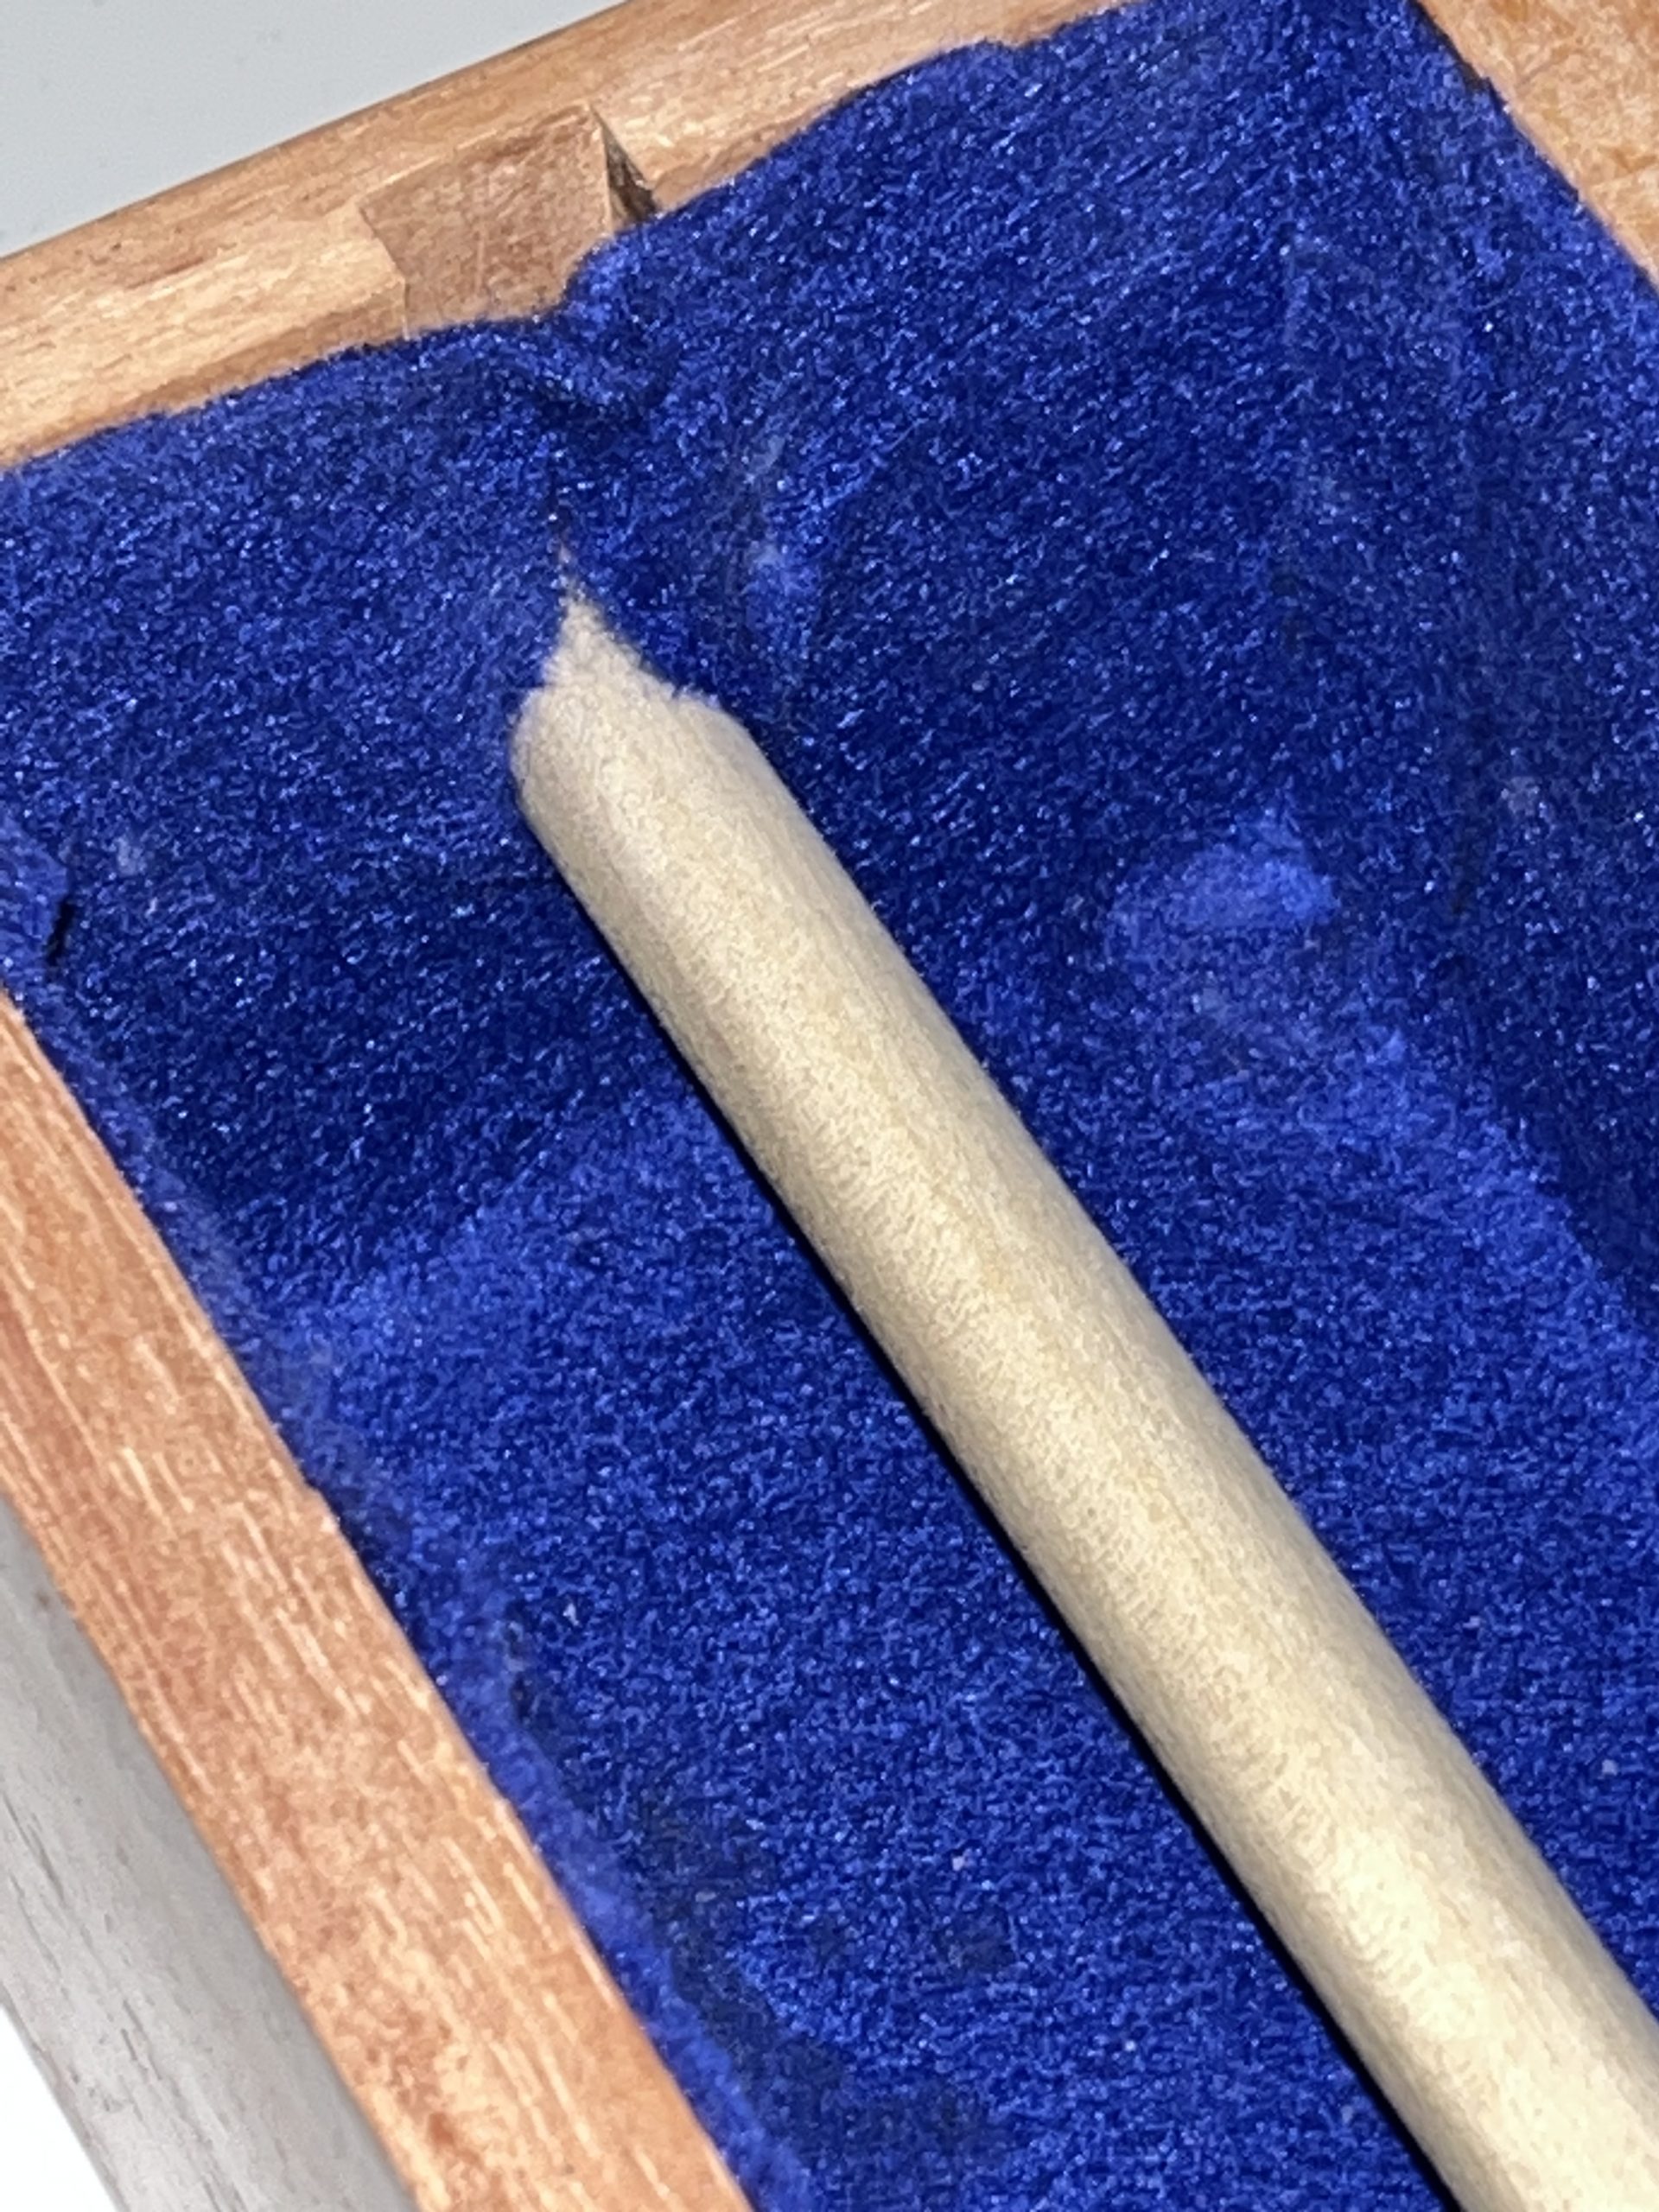
Box with the lid open – blues felt lines the box, and the wooden dowl holds 3″ diameter washy tape spools. The dowl sits in groves routed into the end pieces of the box.
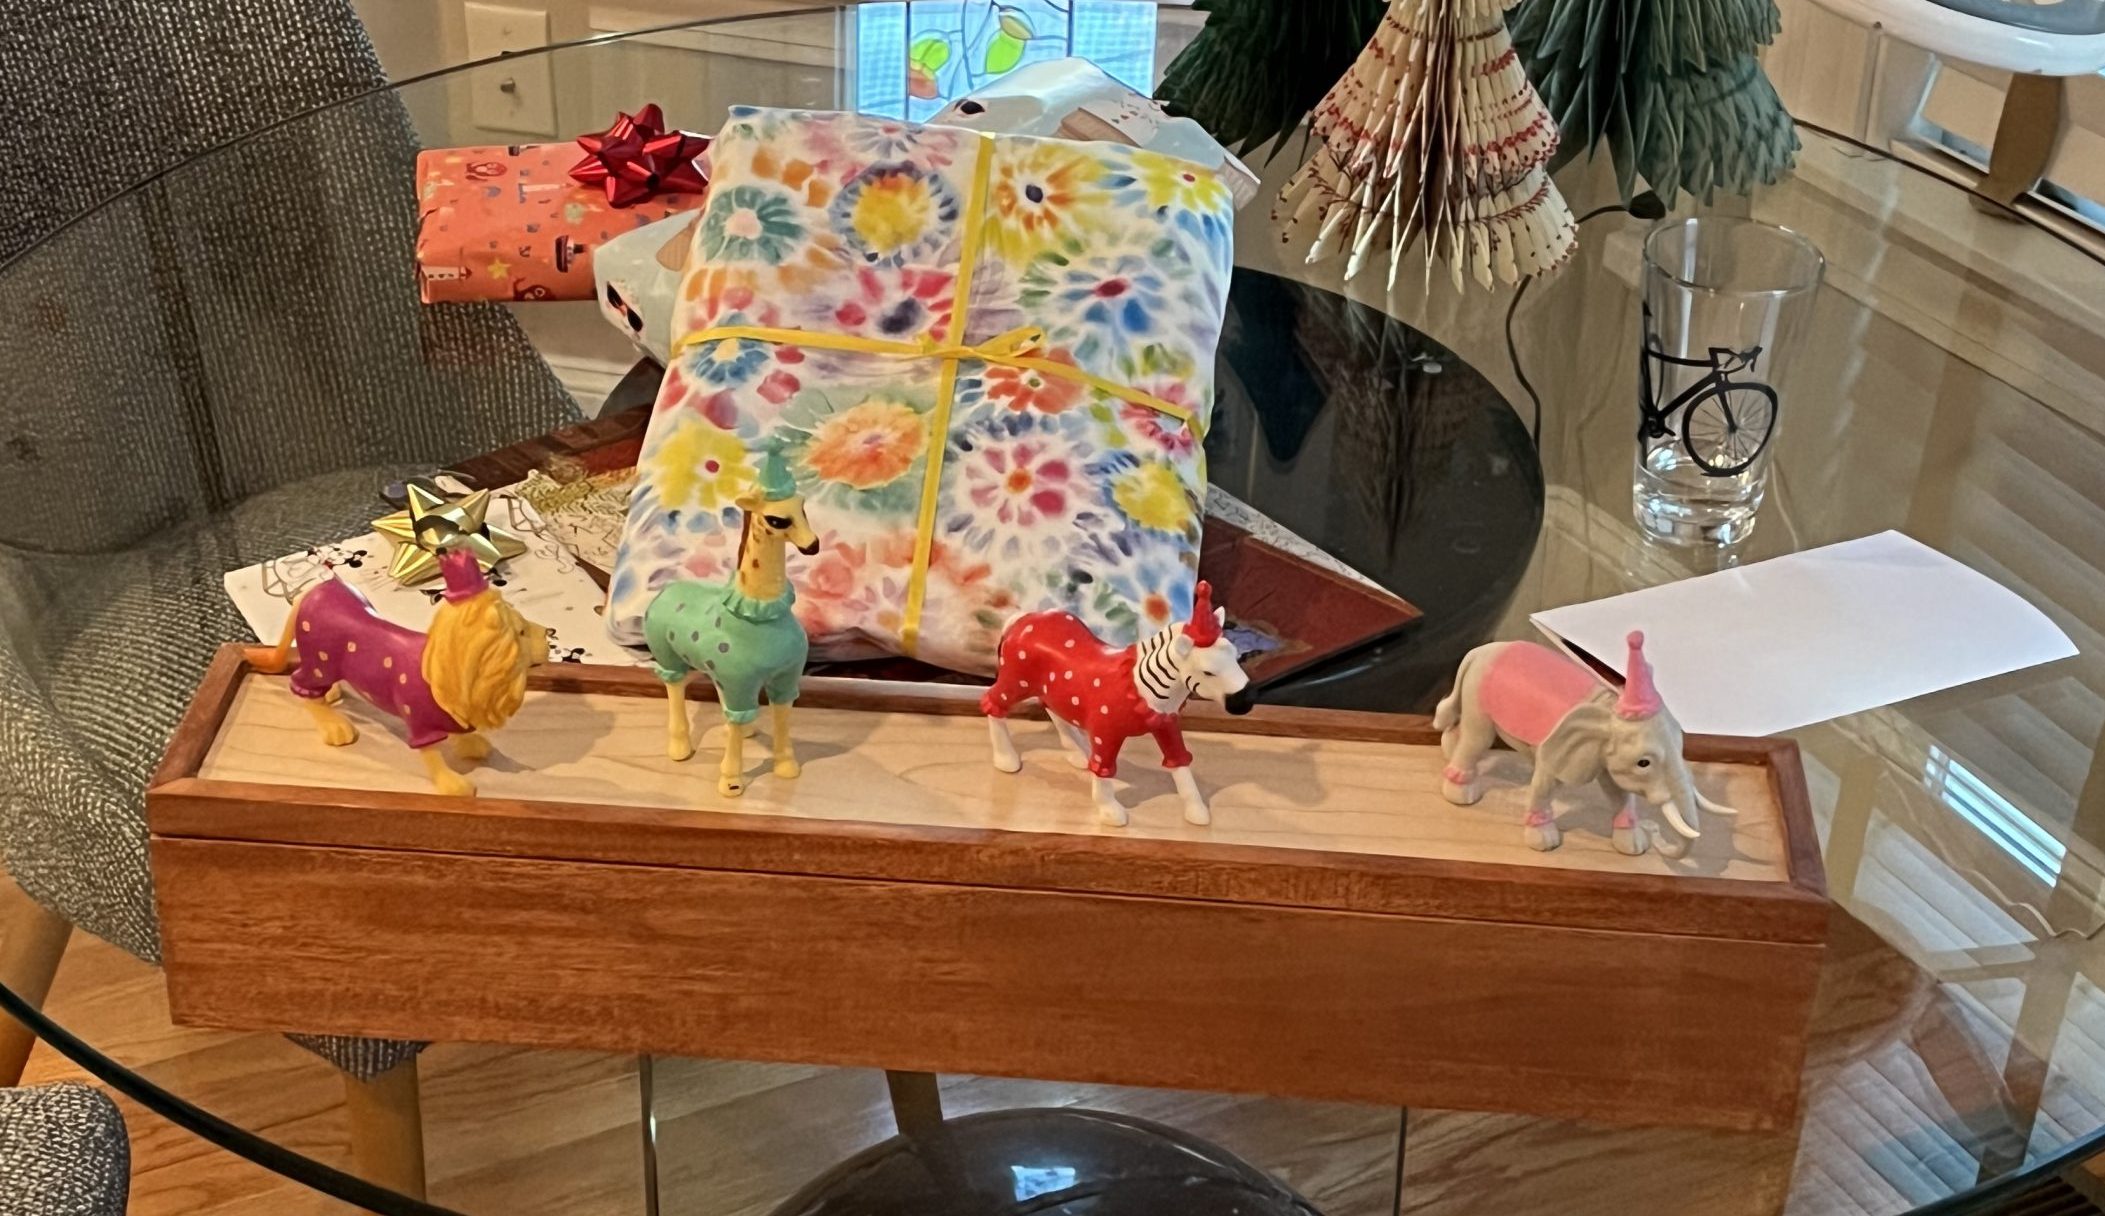
Wooden box used in a gift display.
“Features” – mistakes and deficiencies
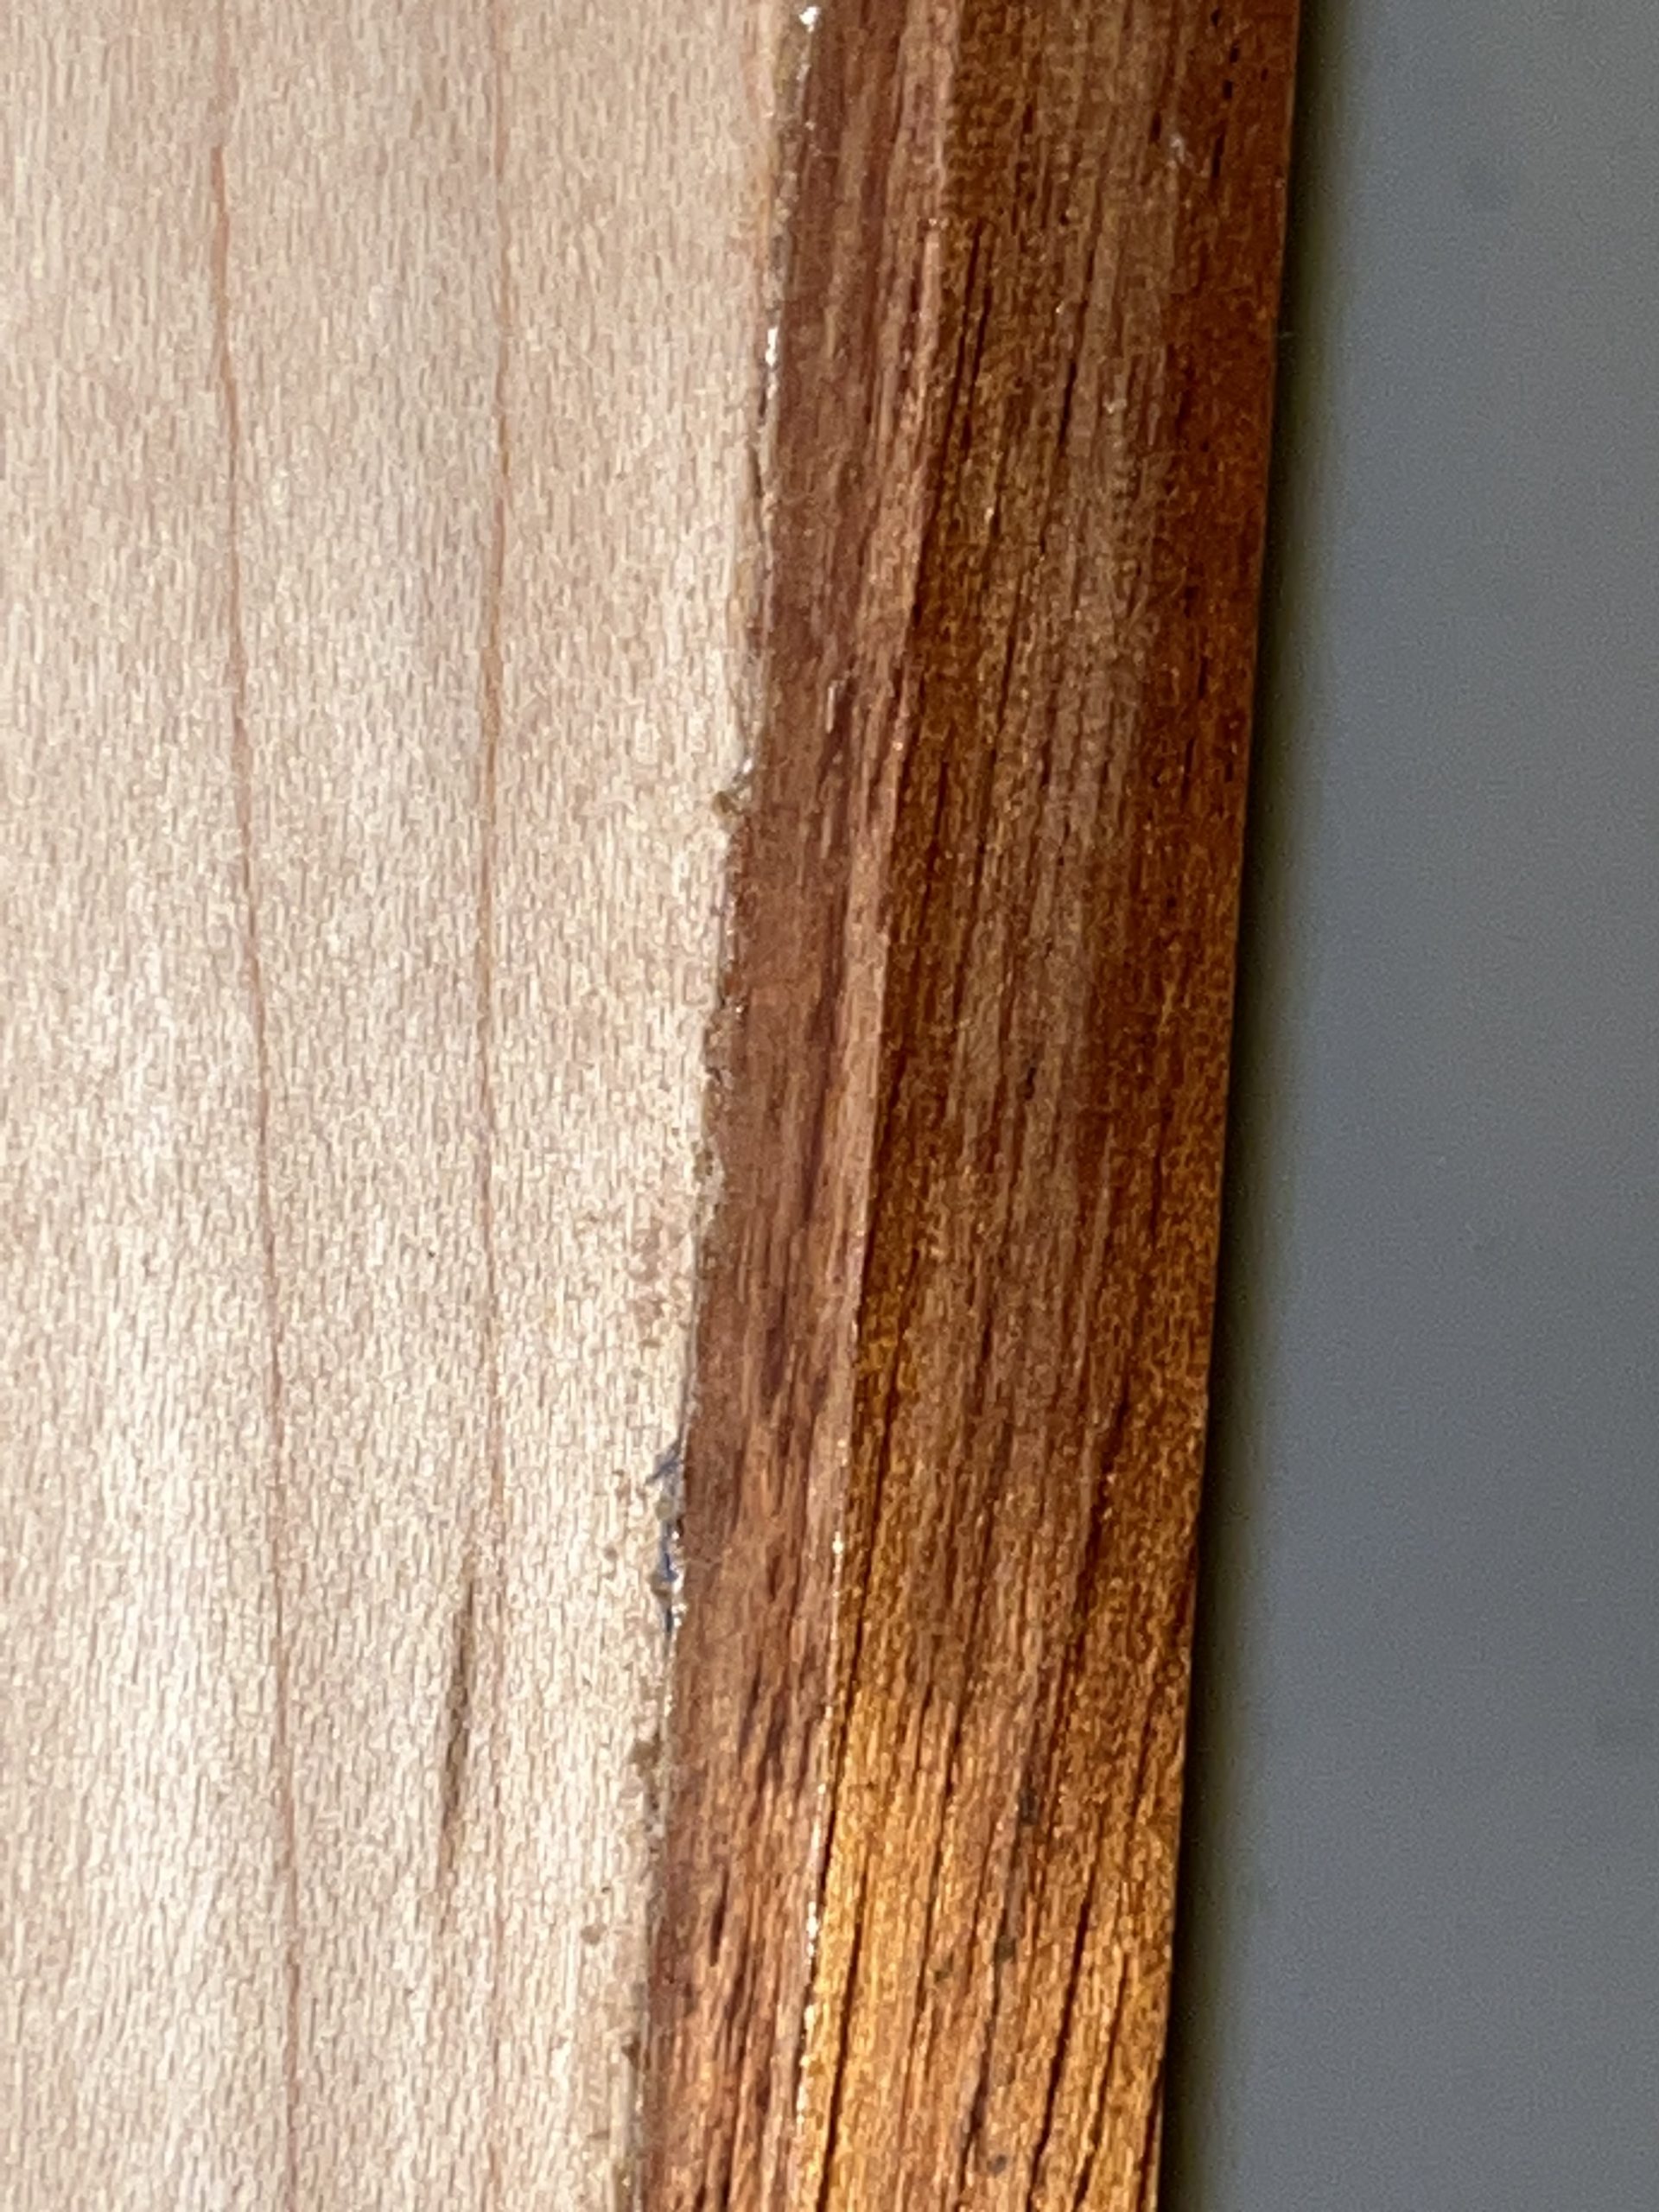
- Routed grooves in the sides of the box capture the top and bottom pieces 1/4″ below the top and bottom of the sides, despite careful taping. Getting the grain filler and sealant out presented a problem, as shown here:
Excess sealant caught at the joint between the top and side.
I could have used a Dremel tool to improve it, but I did not have time before Christmas.
- I did not correctly route the joints (the end prices rode up on the table saw during cutting), so I had to shape the top and bottom pieces. This problem did not show up in the finished product.
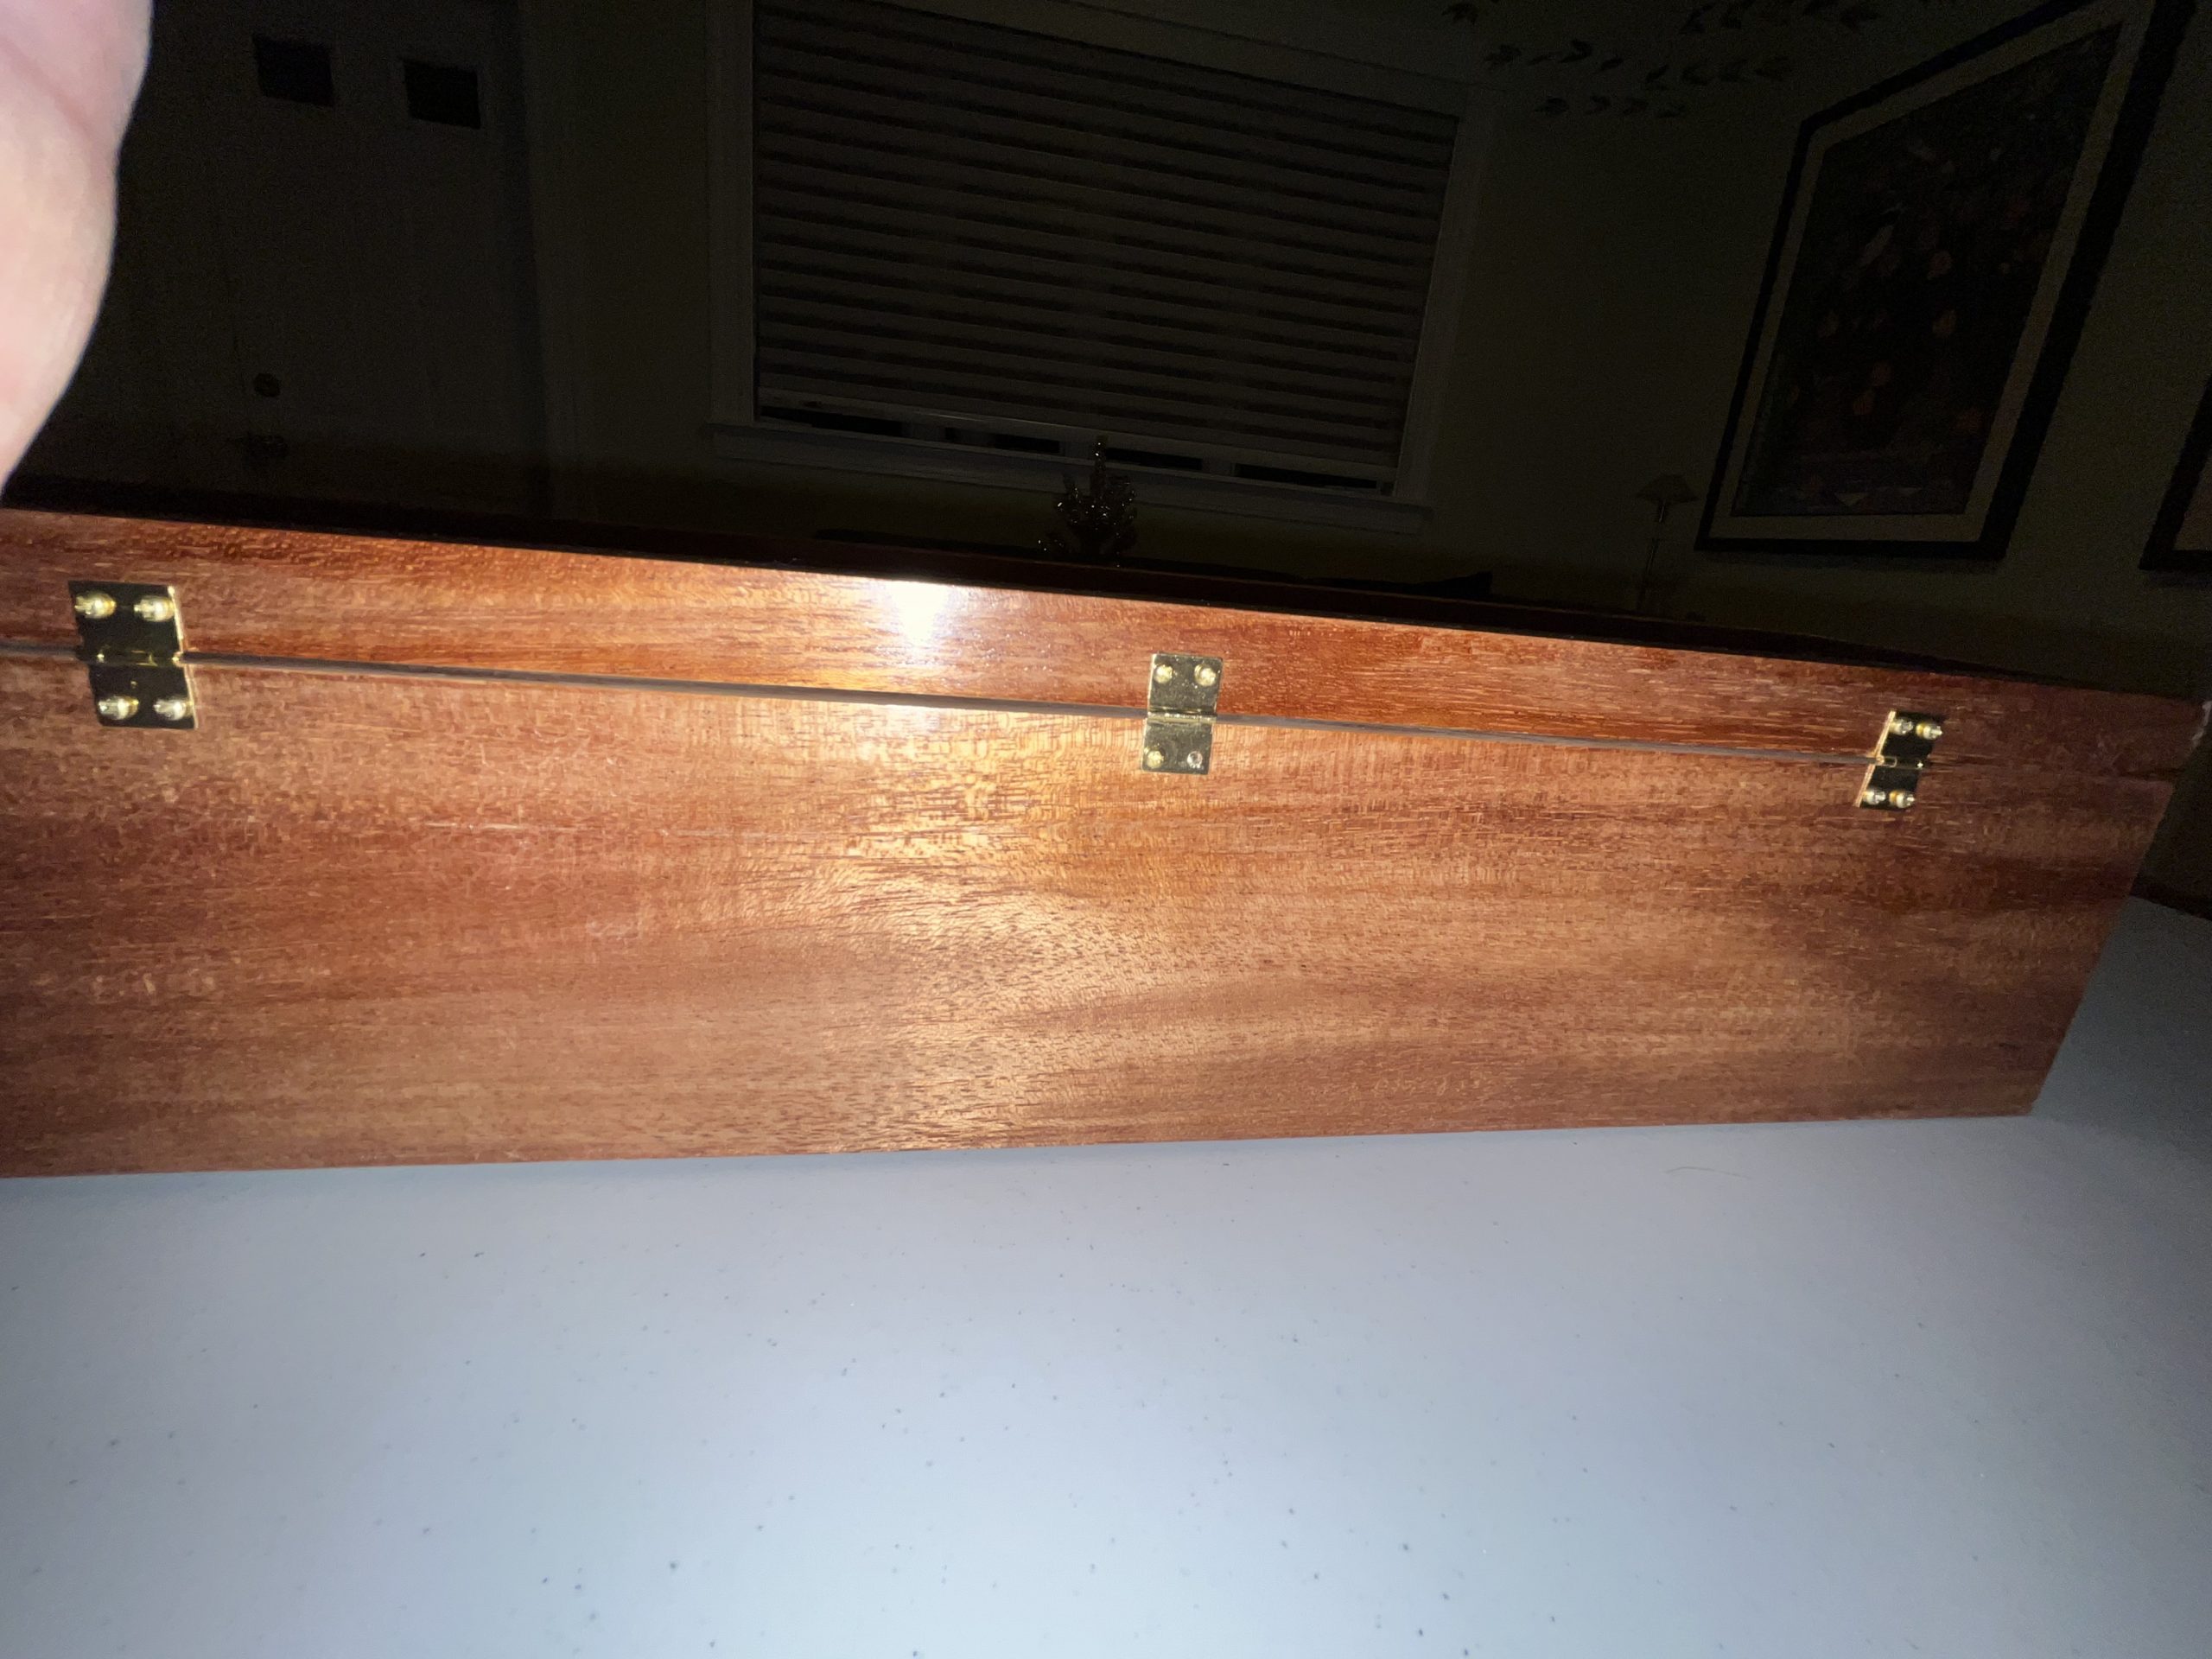
- The long lid bent after separating from the box, probably from internal stresses, making a 1/16″ visible gap in the closed box:

The gap between the body of the box and the lid. Also, the head of the screw on the hinge to the left sheared off during installation.
- The hinges used small screwed, and one of them sheared off during installation. The needle nose plier may have worked getting the shank of the screw out of the wood, but I had concerns about damaging the finish and decided to leave it.
- I used blue felt to line the box and encountered several problems. I cut the felt using a template from the box measurements, but the felt contracted during gluing, so I had to make several patches. Scissors did an excellent job cutting the felt, but I needed an X-axcto knife to open the holes in the end for the dowls. The X-acto just cut tore the felt, as seen here:
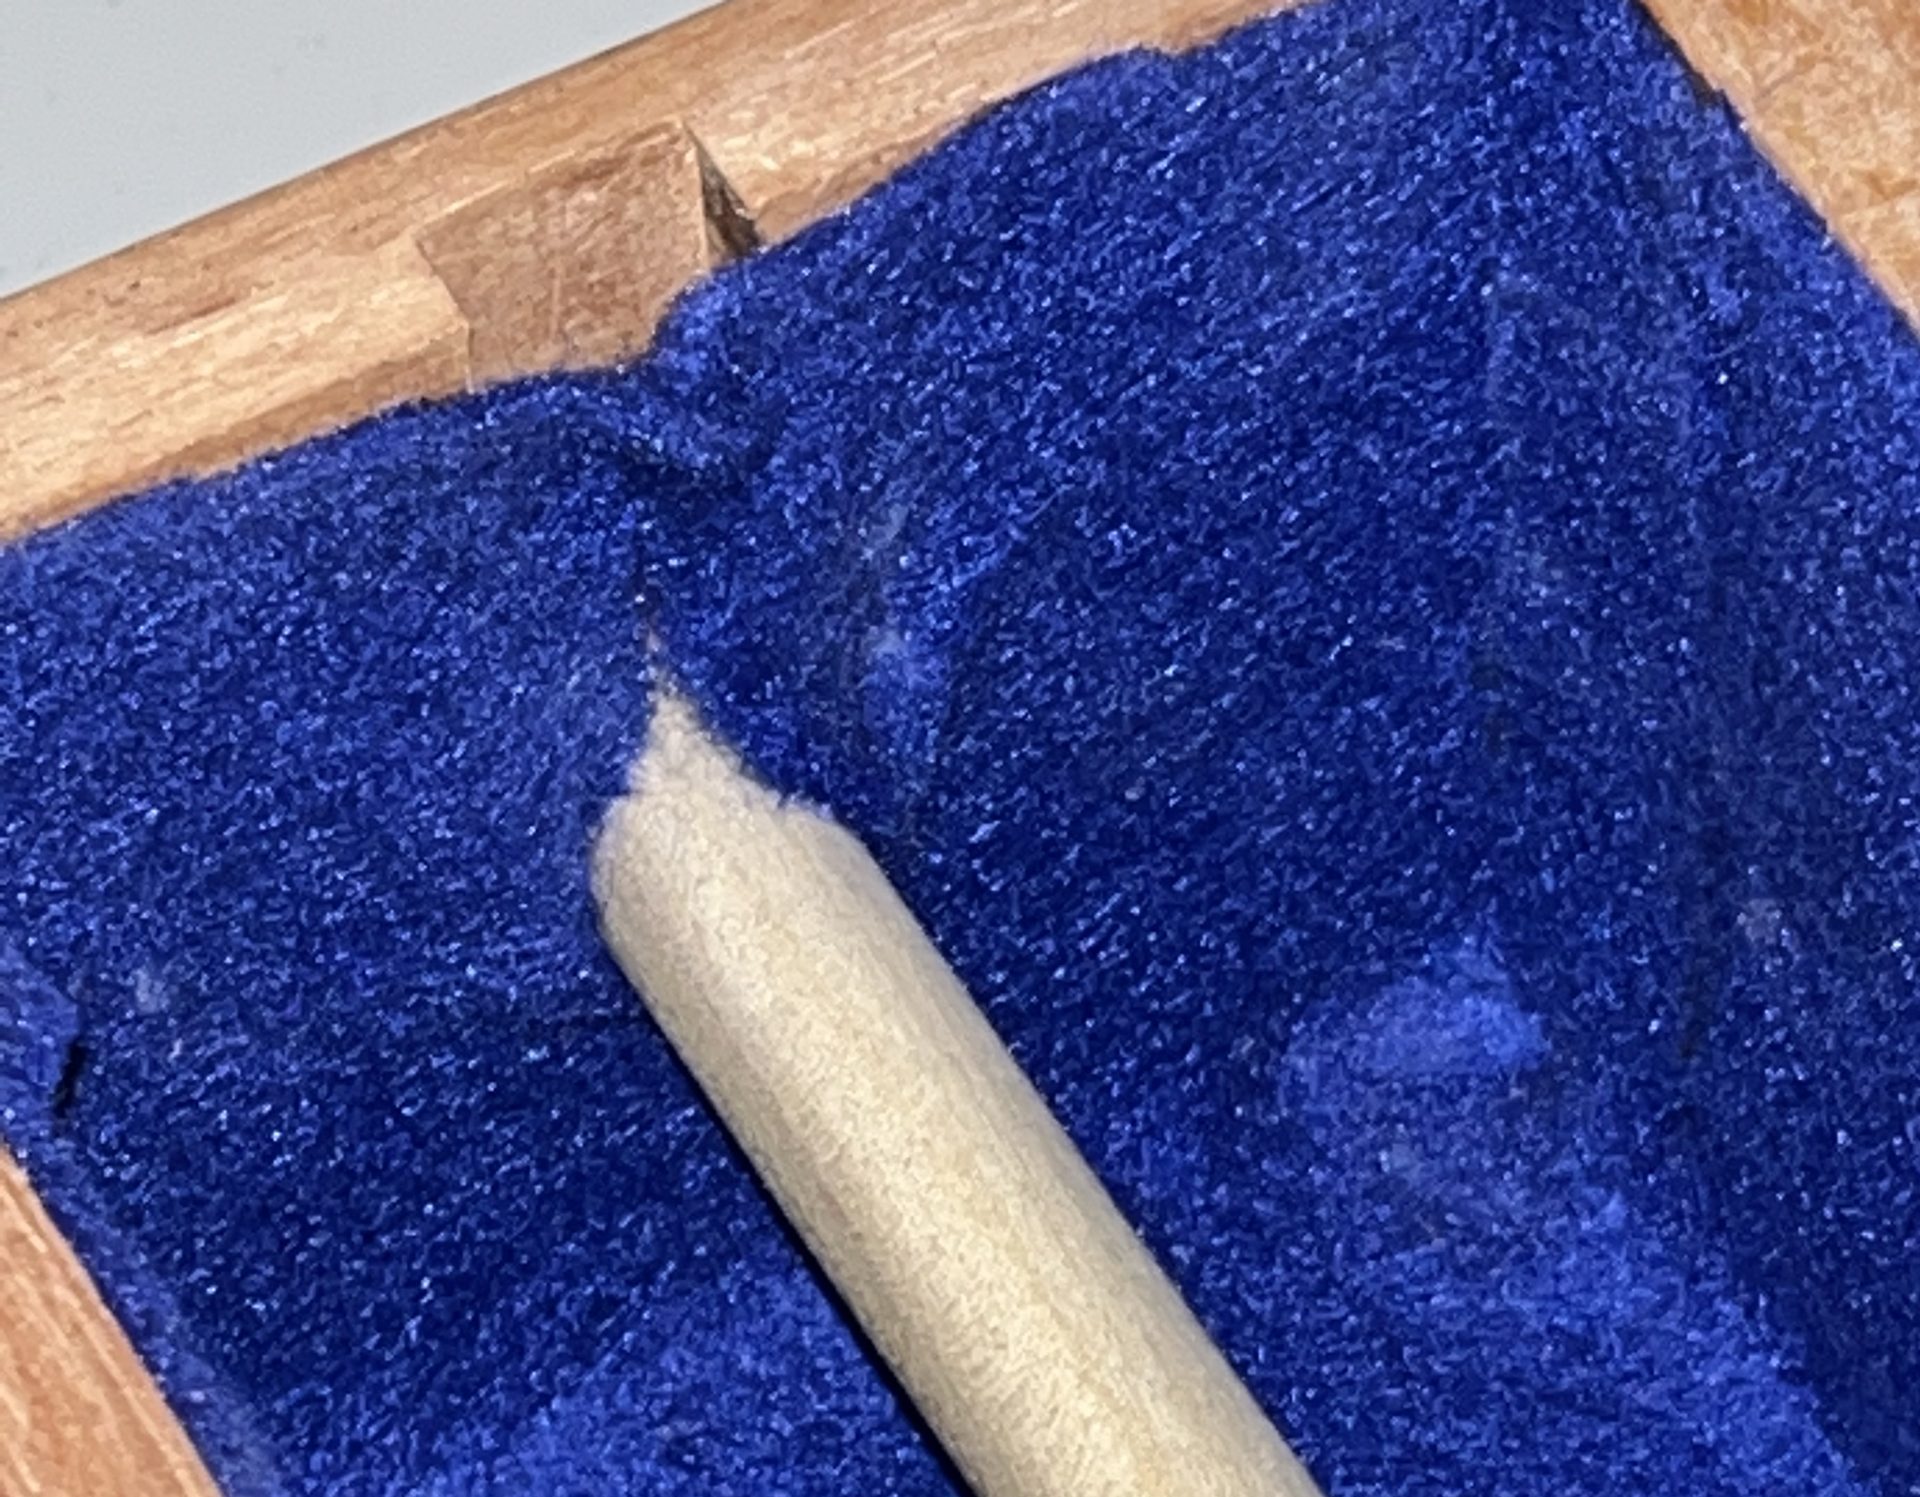
Felt hole for the dowel torn by an X-acto knife
- Finally, I should have doubled over the felt at the edges for gluing so you would see a fold rather than the ragged edge of the felt.
- The out-of-true guardrail on the table saw and the not-quite-square side of my box combined to leave a 1/16″ mismatch when we cut the lid from the pack. I glued in some mahogany Carl had and sanded, so you can’t see the mismatch, but this contributed to the gap between the lad and the body on the closed box.